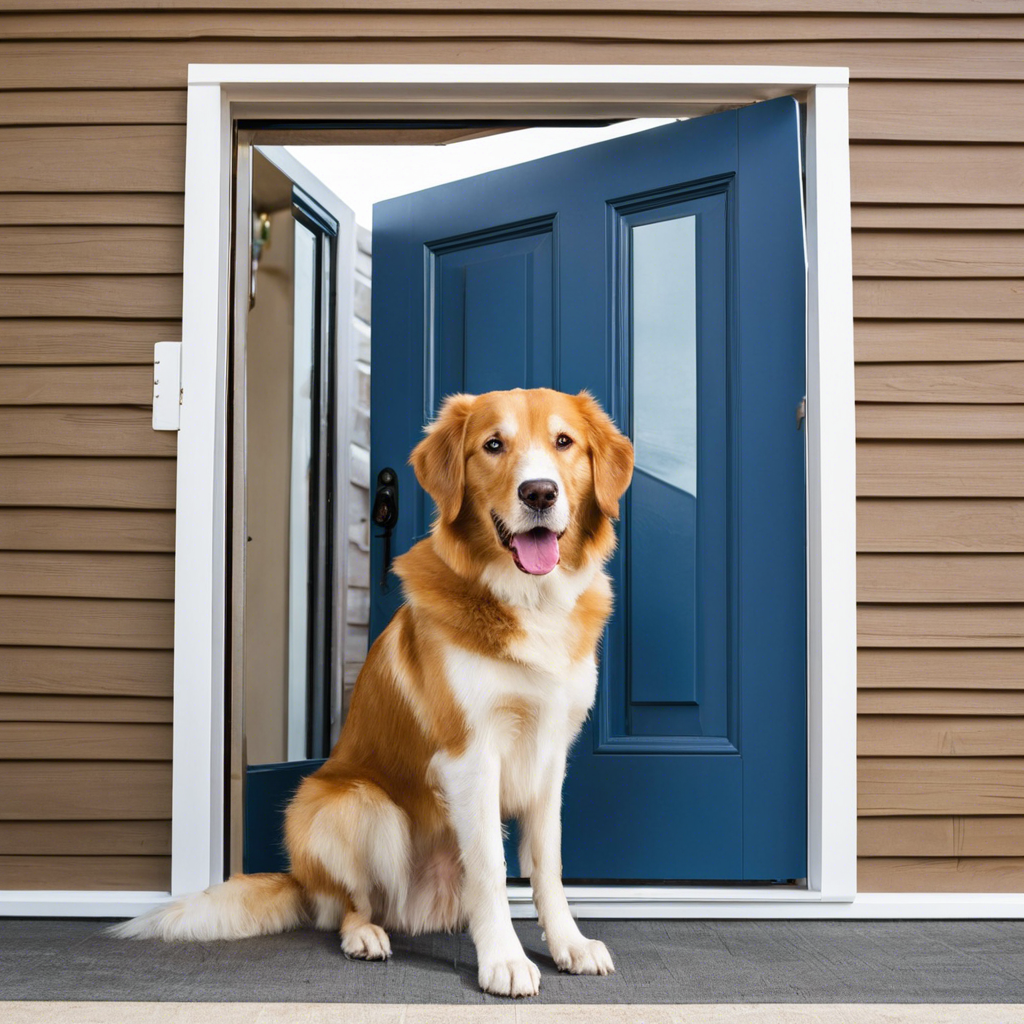
Having a custom dog door can be a game-changer for pet owners, allowing your furry friend the freedom to come and go as they please while keeping your home secure. Whether you’re looking to save money or enjoy a DIY project, building a dog door yourself can be a rewarding experience. With the right tools, some patience, and a bit of creativity, you’ll have your own personalized dog door in no time! Here’s a step-by-step guide to help you navigate the process.
First, measure your dog’s height and width. You’ll want to ensure the door is the right size for your pet to pass through comfortably. Measure from the floor to the top of your dog’s shoulders for height, and their width at the widest point. Add a few centimeters for comfort and ease of movement. This will be the basis for your custom door frame.
Next, choose the location of the dog door. Ideally, it should be in a well-insulated area to maintain energy efficiency. Consider doors leading to a backyard or a secure area where your dog can play and roam freely. If you plan to install the door in a wall, ensure it’s not load-bearing, as this might require professional help.
Once you’ve decided on the location, it’s time for the fun part – construction! Gather your tools: a jigsaw, drill, tape measure, pencil, and the materials you’ll use for the door flap, like acrylic sheets or heavy-duty vinyl. Mark the dimensions of the door opening on the wall or door using your measurements as a guide. Cut through the marked lines with the jigsaw, sand down any rough edges, and ensure a clean opening.
Now, create the flap. Cut the chosen material to size, ensuring it’s a bit larger than the opening to allow for a secure seal. You can use a self-closing hinge or buy a ready-made flap kit for this step. Fit the flap into the opening, securing it with screws and ensuring it swings freely. For added insulation, use weatherstripping around the flap’s edges.
Finally, test the door with your furry friend. Observe their comfort and ease of use. You might need to make minor adjustments to ensure a perfect fit. With this DIY project, you’ve created a practical and convenient solution for both you and your pet!
For a professional finish, consider installing an electronic dog door that opens with your dog’s microchip or a collar key. This ensures that only your pets can enter, keeping unwanted visitors out. There are various ready-made kits with different locking mechanisms to choose from, each offering a balance of convenience and security.
Remember, building a custom dog door is an achievable DIY project with the right preparation. With these steps, you’ll be well on your way to providing your pet with a new level of independence and adding a unique feature to your home. Whether you’re a seasoned DIY-er or a novice, this project can be both fun and functional, enhancing your pet’s quality of life and your peace of mind.
Don’t be afraid to get creative with your dog door design, and always prioritize safety and functionality. Your pet will thank you for their new-found freedom, and you’ll enjoy the convenience of not having to play doorman every time they want some fresh air! Happy building!

